In this activity I will share with you one of my recipes for homemade playdough. Your child will really enjoy spending time making it with you! Make sure to save the playdough once you are finished as it keeps a week or two, even longer sometimes.
This is an activity that is inexpensive to make and has no chemicals in it.
Best Ages for This Activity
Two to five.
How to Make It
Ingredients
- 1 ½ cups water
- 1 ½ cups flour
- 1 tbsp vegetable oil
- ¾ cups salt
- ½ tbsp cream of tartar
- Liquid food colouring in the following colours:
- Yellow
- Blue
- Green
- Red
You Will Also Need
- Wax paper (or any other non-stick surface to protect your countertop). You can easily use a cookie sheet
Let’s Get Started!
- In a pot, help your child (if they need you to) mix all of the ingredients together until you have a uniform batter.
- Cook on low to medium heat for 7 to 9 minutes until it can form a ball.
- Put your new ball on the wax paper and let it cool off until it is cool enough for your child can handle
- Teach your child how to divide (math language) into 6 equal parts
- Make a little nest with each part, to put the food colouring inside before mixing it all together
- Now all you need to do is add the food colouring to each one of the 6 parts and kneed the colour in, forming a ball
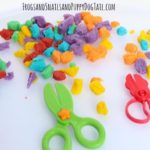
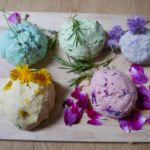
- Here is how much food colouring you will need to make vibrant playdough, like in the picture:
- Red playdough will need 30 drops of red food colouring (help your child count)
- Yellow playdough will need 25 to 30 drops of yellow food colouring
- Blue playdough will need 12 drops of blue food colouring
- Green playdough will need 20 drops of green food colouring
- To make purple playdough, combine 20 drops of red food colouring and 10 drops of blue food colouring
- To make orange playdough, combine 6 drops of red food colouring and 28 drops of yellow food colouring
- If you have food colouring that already comes in fancy colours, you just need to add about 20 drops of the colour and see if you like it. To make it more intense, add more, up to about 30 drops.
- Voilà! You can start playing with it now. Then store in an airtight container (Tupperware is fine) or in a freezer bag (then seal it)
Learning Opportunities
Children will learn S.T.E.M. while making the playdough because it’s a science experiment. Questions you can ask your child during the experiment are:
- Will the batter harden enough to make it like playdough?
- What colours would you like to make?
- Which colours do you think we need to mix in order to make (for example) purple playdough?
- How long will it take to cook?
- How long do you think it will take to cool off?
- How many drops of food colouring do you think we will need to make it an intense colour?
- What will you make with it once it is done?
By helping you measure, mix, describe textures and colours, as well as the intensity of the colours as they get absorbed, they will be using math. As they are mixing and pouring, following all the steps, they are learning sequencing, which is great for reading as well as math and science. Kneading is quite an intense process, so it counts as a physical activity.
CEFA tip: Remember to let your child do as much of the process as they are capable of. This means they measure, mix and pour (not you).
The process of making the playdough offers your child sensory learning by using their sense of touch to feel the texture, mix in the colour, feel the temperature changing, etc. Sensory learning is especially important for writing. While you play with your child, use vocabulary to describe:
- How the play dough feels
- The temperature of it
- The intensity of the colours
- The colours themselves and how they are obtained (if you are mixing colours)
Don’t forge to use math vocabulary such as:
- Measuring
- Volume
- Quantities (more than, less than, the same amount, 1 cup, etc.)
- Cool
- Warm
- Hot
- Colour
Describing while using vocabulary is one of the most important learning outcomes at this age. It teaches them reading and mathematics.
This activity also teaches your child patience as they have to wait until the playdough is cool enough to mix, and perseverance as they knead the colour into the playdough. This activity also improves your child’s ability to focus on one task (attention span) – especially once they get to do other activities with the playdough, like making things, making an art piece or using it for building – which all contribute to your child’s social and emotional development and artistic development.
Extended Learning Opportunities
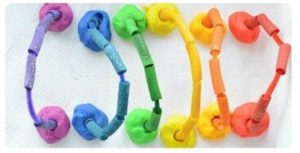
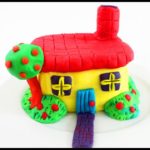
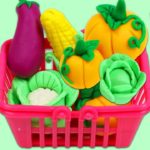
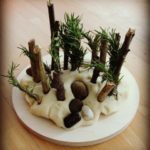
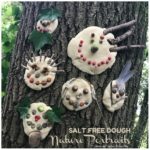
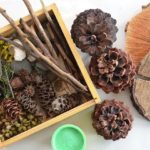
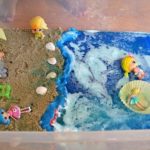
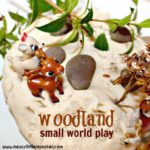
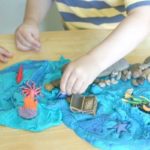
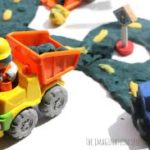
Once it is ready and your child gets to play with it, they will gain writing skills by using their fine motor skills, and dramatic arts through pretend play. If you use the play dough to build, you learn S.T.E.M., especially engineering. You can add beads, shells, tiny branches, pebbles or anything else you and your child like, to make it piece of art.
Here are some examples of what you can do:
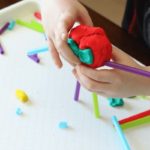
- Building shapes with straws and playdough (S.T.E.M.)
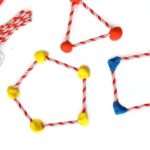
- 2D building

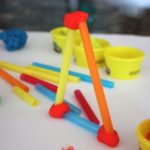
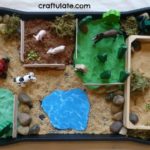
- Building structures with playdough and other elements (like lego, blocks, sticks or straws)
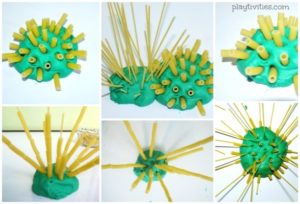
- Create with playdough and pasta (see my recipe for coloured pasta):
- 3D building
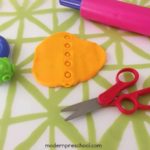
- Practicing scissor skills
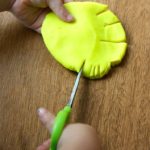

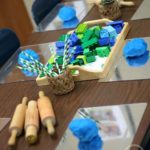
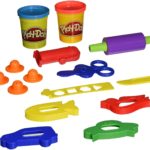
- Working with cookie cutters and other utensils
- Dramatic play
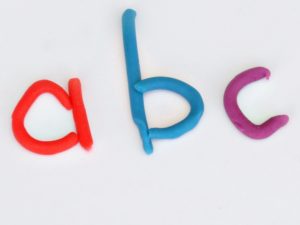
- Writing
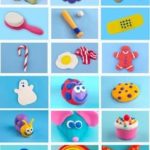
- Stamping (try different things to stamp with – what it stamps is always a surprise to children)
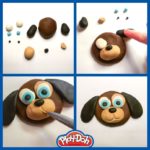
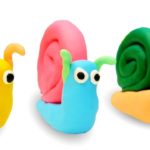
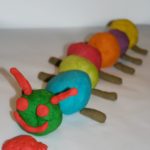
- Trying to make things or animals


- Learning to make balls and “snakes”
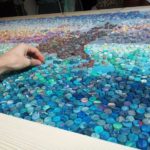
- Making mosaics
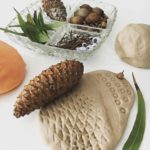
- Exploring nature and making artistic creations with it
- Developing your child’s imagination through dramatic play

![]()
Toys Your Child Might Like