About Natacha
Natacha’s Blog
Resources for parents
Activities for children
Books + Toys
Search
Par Atwal
Threading Leaves (and so Much More!)
by Par Atwal
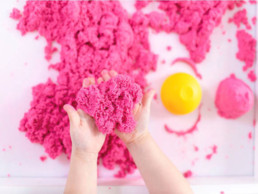
Why is Sensory Play Important in the Early Years?
by Par Atwal
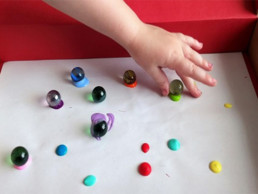
Sensory Math with Marbles: One to One Correspondence
by Par Atwal
Brain Development in Your Child’s Early Years
by Par Atwal
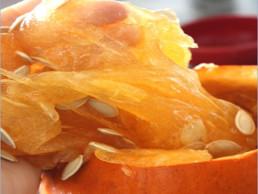
How to Make Pumpkin Slime
by Par Atwal
Ghost Egg Science Experiment
by Par Atwal
Skittles Rainbow Experiment
by Par Atwal
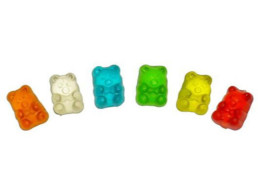
Growing Gummy Bears
by Par Atwal
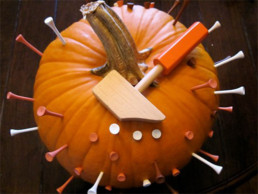
Hammering Pumpkins – Fine Motor and Hand-Eye Coordination Activity
by Par Atwal
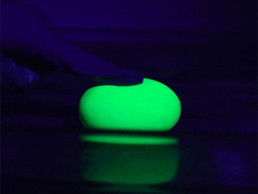
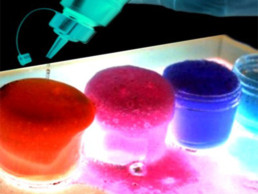
Glow in the Dark Magic Potion
by Par Atwal
1
…
4
5
6
7
8
…
17