About Natacha
Natacha’s Blog
Resources for parents
Activities for children
Books + Toys
Search
Par Atwal
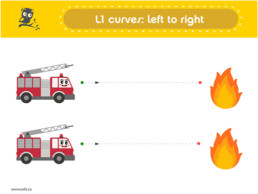
Curves Practice Sheet (Level 1) – Fire Truck
by Par Atwal
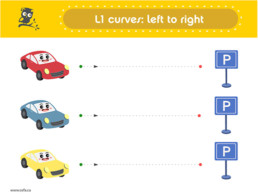
Curves Practice Sheet (Level 1) – Cars
by Par Atwal
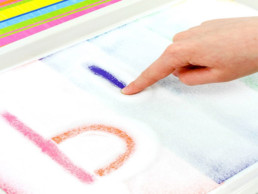
Pre-Writing with a Rainbow Salt Tray
by Par Atwal
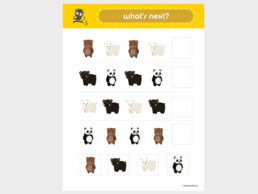
Bear Patterning
by Par Atwal
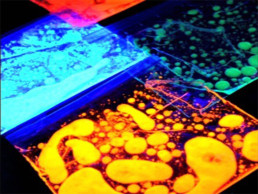
How to Make Glow in the Dark Sensory Bags
by Par Atwal
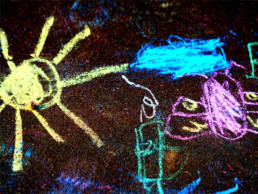
How to Make Glow In the Dark Sidewalk Chalk
by Par Atwal
Exploding Bag Science Experiment
by Par Atwal
Sorting with Straws
by Par Atwal
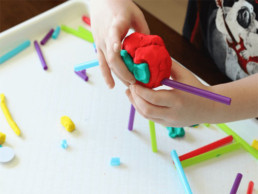
Straws and Play Dough Sculptures and Play
by Par Atwal
Practicing Scissor Skills with Straws
by Par Atwal
1
…
6
7
8
9
10
…
17